")
")
The following table shows the network printers at LNGS.
| Printer Name | Hostname | Location | Note |
| lngs-bathroom | lngs-bathroom.lngs.infn.it | near bathrooms (on the ground floor in the building n.5) | Black and White |
| lngs-color03 | lngs-color03.lngs.infn.it | Printer Room (on the ground floor in the building n.5) | Color |
| multifunzione-ced | multifunzione-ced.lngs.infn.it | Printer Room (on the ground floor in the building n.5) | Color |
| lngs-proom1 | lngs-proom1.lngs.infn.it | Printer Room (on the ground floor in the building n.5) | Color |
| multifunzione-divric | multifunzione-divric.lngs.infn.it | near elevator (on the first floor in the building n.5) | Color |
| lngs-magazzino | lngs-magazzino.lngs.infn.it | Warehouse building | Black and White |
| lngs-mntlvd | lngs-mntlvd.lngs.infn.it | Mounting Hall - LVD side | Black and White |
| lngs-northgate | lngs-northgate.lngs.infn.it | North Gate - near stairs | Black and White |
| multifunzione-northgate | multifunzione-northgate.lngs.infn.it | North Gate - near stairs | Color |
The following instructions are useful for installing a network printers on user pc.
Windows
From Control Panel->Device & Printer select Add printer->Add a printer using a TCP/IP address or hostname->The printer that I want isn’t listed and then Add a printer using a TCP/IP address or hostname and push on Next botton. Type the hostname or the IP address of the printer in Hostname or IP address. Push on Next button.
For the multifunzione-ced and multifunzione-northgate printers download this driver, for the multifunzione-divric download this driver and also follow these instrunctions:
Download and extract the printer driver.
Click Driver Disk -> browse and select the folder just extracted -> KXDriver -> 32/64 bit (in base of the operating system in use) -> OEMSETUP.inf and click OK
In the list select the printer Kyocera TASKalfa 4053ci KX / Kyocera TASKalfa 5052ci KX and click Next.
Windows will now walk you through installing the drivers for the printer. After that is complete, you should be able to print to the printer via direct IP address.
Important: leave selected "don't share this printer" and complete the installation.
MAC
Only for the multifunzione-ced, multifunzione-divric and multifunzione-northgate printers download and install this driver before follow the instructions described below.
From Apple Menu select System Preferences-> Printer & Scan. In the Print & Scan window click on the [+] button. Select IP tab in the Print Browser window and then
- in Address enter the IP address or hostname of the printer you want to add.
- Leave the Queue field blank. The Name and the Location fields are for your reference to keep track of your printers and differentiate between multiple ones.
Click on Add button. The printer will be added to your list of printers.
Linux (Ubuntu)
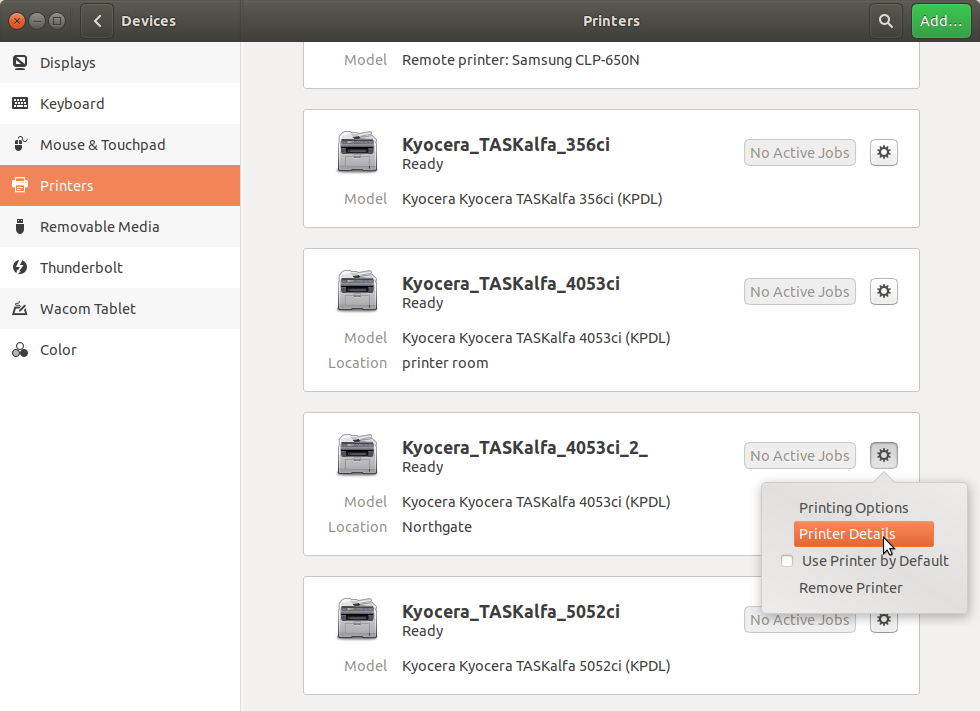
Select System Settings-> Printers. In the Printers window click on the [+] Add button. Choose Network Printer-> Find Network Printer and enter IP address/hostname of printer then click Forward button. Leave the default recommended driver.
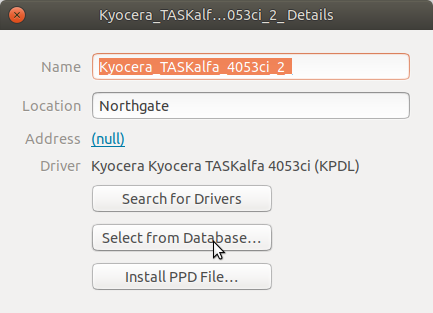
In the Describe Printer window we will be asked to fill in some information about your printer as Printer Name, Description and Location for keeping track of your printers and differentiate between multiple ones. Click on Apply button to finish the printer installation.
For the multifunzione-ced, multifunzione-divric and multifunzione-northgate printers follow these instrunctions instead:
Ubuntu 16.04 o precedenti
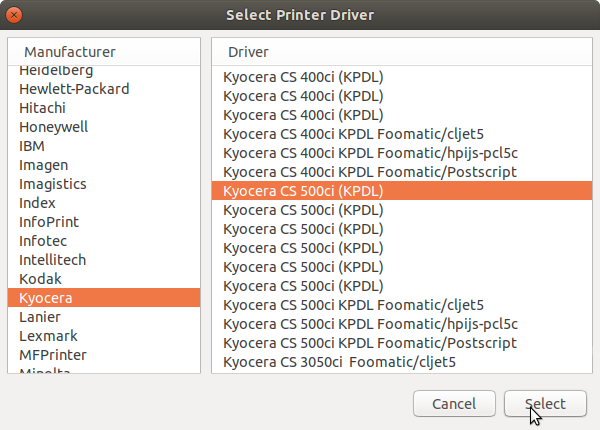
Select System Settings-> Printers. In the Printers window click on the [+] Add button. Choose Network Printer-> Find Network Printer and enter IP address/hostname of printer then click Forward button. Leave the default recommended driver -> Forward -> clik the second driver from those available in the right column (Kyocera TASKalfa 500ci KPDL Foomatic/cljet5) -> Forward.
In the Describe Printer window we will be asked to fill in some information about your printer as Printer Name, Description and Location for keeping track of your printers and differentiate between multiple ones. Click on Apply button to finish the printer installation.
Ubuntu 18.04